The Complete Journey of an Email - Understanding MX Records
Introduction to MX Records and Email Delivery
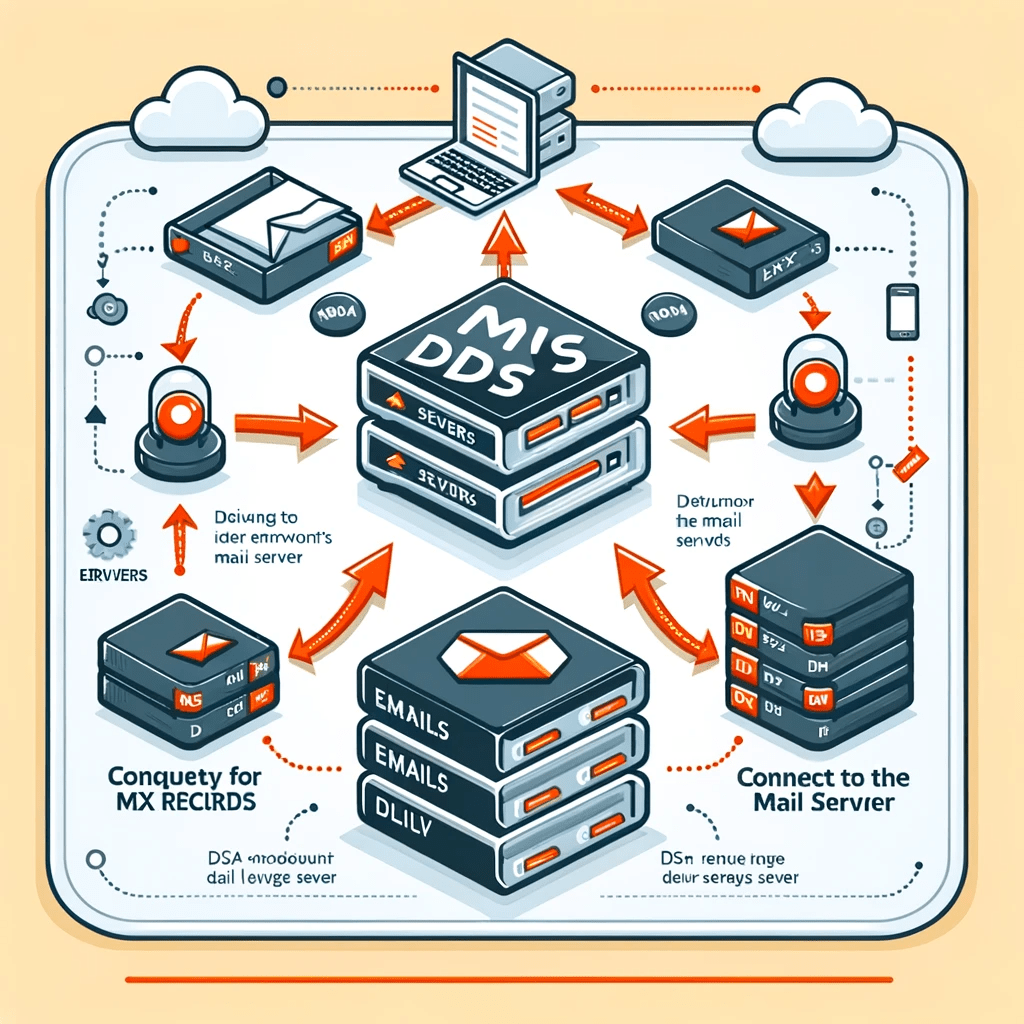
MX Records, or Mail Exchange Records, are a vital part of how email systems work on the internet. They are specific entries in the Domain Name System (DNS) that direct email to the servers hosting the recipient's email service. Essentially, when you send an email, the sending server queries the DNS for the MX Records of the recipient's domain to find out where to deliver the message.
Definition of MX Records
- Purpose: MX Records are used to specify the mail server responsible for accepting email messages on behalf of a domain name.
- Format: They include a priority number and the mail server address. The priority number helps in determining the order of use when multiple mail servers are available.
The role of DNS in Email Delivery
DNS acts like the internet's phonebook. Just as you look up a phone number to make a call, your email service looks up the MX Record to find out how to deliver an email. Here's a simplified view of the process:
- Sending Email: When you hit send, your email server looks up the recipient's domain MX Records.
- DNS Query: The DNS server responds with the list of MX Records for the recipient's domain, each pointing to a potential receiving email server.
- Connecting to Recipient's Server: The sender's email server connects to the highest priority mail server (the lowest numerical priority value in MX Records) to attempt delivery. If that server isn't available, it tries the next one in line.
- Email Delivery: Once the connection is successful, the email is transferred to the recipient's mail server for delivery.
Understanding MX Records is fundamental in troubleshooting email delivery issues and optimizing email systems. By knowing how they work, administrators can configure their email services for better reliability and performance.
How Email Works: A Step-by-Step Explanation
The journey of an email from the moment you click 'send' to when it lands in the recipient's inbox involves several steps and protocols. Central to this process is the Domain Name System (DNS) and specifically, the MX Records that guide the email to its proper destination.
The Journey of an Email:
- Composition: You compose an email and hit send. The email client connects to your email server.
- Submission to Outgoing Server: Your email server, typically a Simple Mail Transfer Protocol (SMTP) server, takes the message.
- DNS Lookup for MX Record: The SMTP server queries the DNS for the MX Records of the recipient's domain. It's looking for instructions on where to deliver the email.
- Connecting to Recipient's Mail Server: The sending server uses the MX Record to connect to the recipient's mail server. If the first choice (based on priority) is unavailable, it moves to the next listed server.
- Recipient Server Acceptance: The recipient's mail server, after various checks and validations (like spam filtering and verifying the sender), accepts the email.
- Delivery to Inbox: Once accepted, the email is routed to the recipient's inbox, ready to be opened.
How MX Records Facilitate This Process:
MX Records are critical in directing the email correctly. They ensure that the email doesn't just reach any server but specifically the one equipped to handle and deliver it for the domain specified. Without MX Records, there would be no authoritative way to determine where to send emails, leading to non-delivery or misdirected emails.
- Redundancy and Load Balancing: MX Records can include multiple servers with different priorities. This setup provides redundancy; if the primary server is down, the email won't be lost but instead rerouted to the next available server.
- Priority Settings: The priority in MX Records helps manage the flow of email traffic, ensuring that emails first attempt delivery to the most capable or preferred server.
Understanding the role of MX Records in the email's journey helps diagnose issues, optimize email delivery, and maintain robust communication channels in the digital world. Whether it's a personal email or a critical business communication, the seamless operation of MX Records behind the scenes ensures that emails find their way to the right destination.
Setting Up MX Records: A Guide for Beginners
Setting up MX Records correctly is crucial for ensuring that your domain's emails are delivered reliably. This section provides beginners with a step-by-step guide to setting up MX Records, along with common configurations and tips.
Step-by-Step Instructions on Setting Up MX Records
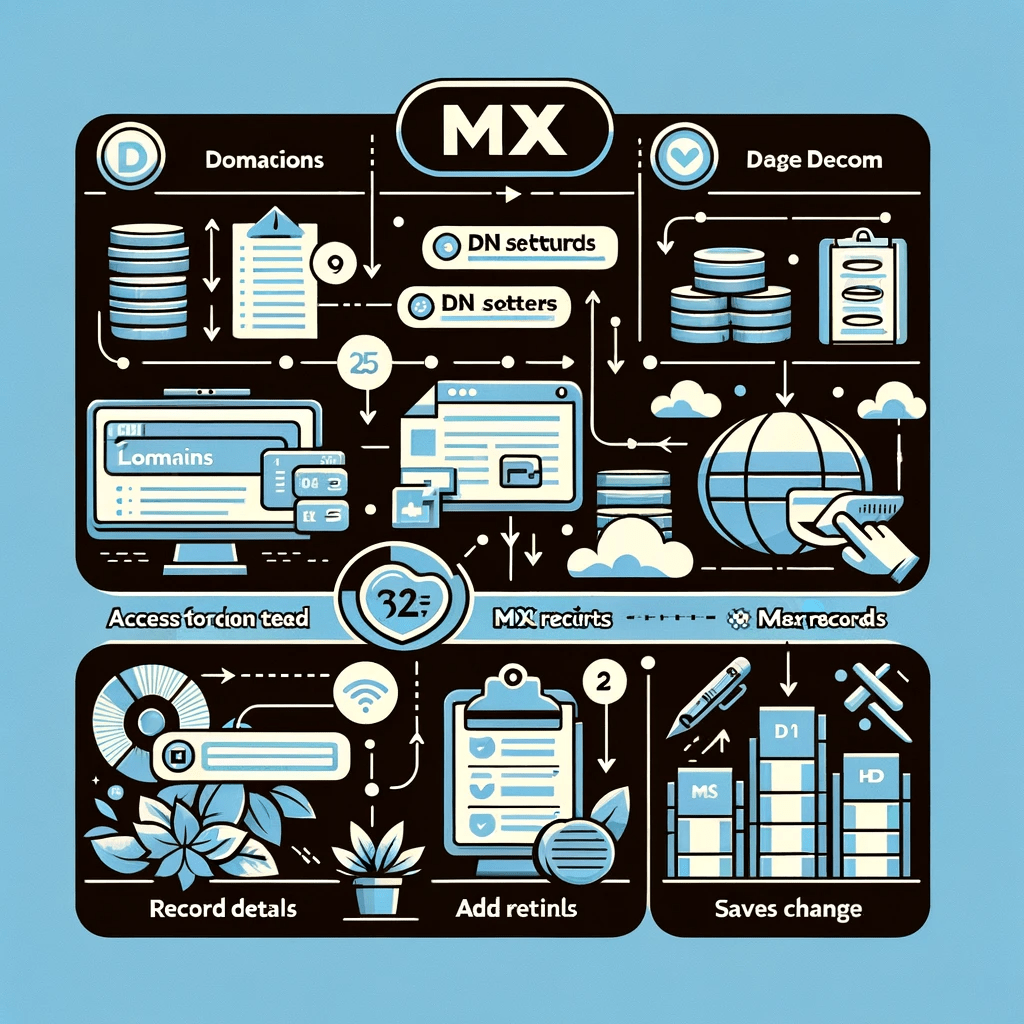
- Access Your DNS Settings: Log into your domain's hosting control panel or DNS management platform. This is typically where you purchased your domain name or where your website is hosted.
- Navigate to DNS Management: Look for the section where you can manage DNS settings or records.
- Locate MX Record Section: Find the MX Records section. It might be under a broader category like "Mail Settings" or "Email Settings."
- Enter MX Record Details: You will need to enter several pieces of information:
Host Name: Often, this is your domain name or an "@" symbol.
Priority: Assign a priority number. Lower numbers have higher priority. For a single mail server setup, this could simply be '10'.
Mail Server: The address of the mail server that will handle your emails (e.g., mx1.yourmailhost.com). This information is often provided by your email hosting service.
- Save Changes: After entering the details, save the changes. It might take some time (up to 48 hours) for the changes to propagate across the internet.
Common Configurations and Tips
- Multiple Mail Servers: For redundancy and load balancing, you might set up multiple MX Records, each pointing to a different mail server with different priorities.
- Avoid Common Mistakes: Double-check that you've entered the server names correctly and that priorities are set as intended. A typo can lead to undelivered emails.
- Test Your Setup: After setting up or changing MX Records, always send test emails to ensure everything is working correctly.
Troubleshooting Tips
- Propagation Time: Remember, changes to MX Records don't take effect immediately. Wait at least a few hours before troubleshooting.
- Use Online Tools: Utilize online MX Record lookup tools to verify that your MX Records are published correctly.
Setting up MX Records might seem technical, but by following these steps carefully, you can ensure your domain's email system is robust and reliable. Always consult your hosting provider or a technical advisor if you're unsure about any step in the process.
Troubleshooting Common MX Record Issues
Even with careful setup, you might encounter issues with MX Records affecting email delivery. Understanding how to troubleshoot these common problems can help you quickly resolve email delivery issues and ensure reliable communication. Here are some steps to diagnose and resolve common MX Record issues:
Emails Not Being Received:
- Check MX Record Entries: Ensure that the MX Records are correctly entered in the DNS settings. Typos or incorrect priority settings can lead to non-delivery.
- Propagation Delay: Remember that changes to MX Records can take up to 48 hours to propagate. If you've recently made changes, you might need to wait.
- Test with Online Tools: Use online MX lookup tools to verify that your domain's MX Records are pointing to the correct mail servers.
Emails Rejected or Bounced Back:
- Verify Server Availability: Ensure the mail server(s) listed in the MX Records are operational and accepting connections.
- Check for Blacklisting: Sometimes, mail servers can be blacklisted due to spam or security issues. Check if your server's IP is on any blacklist.
- Inspect Email Headers: Bounced emails often include headers or messages that indicate why the email was rejected. Look for clues here.
Slow Email Delivery:
- Review Priority Settings: Incorrectly set priorities can lead to inefficient use of mail servers. Ensure the primary server has the lowest numerical priority value.
- Server Performance: Check the performance and load of your mail servers. Overloaded servers can slow down email processing.
Security Warnings or Issues:
- SPF and DKIM Records: In addition to MX, ensure that Sender Policy Framework (SPF) and DomainKeys Identified Mail (DKIM) records are correctly set up to prevent spoofing and improve security.
- SSL/TLS Certificates: Ensure that your mail servers have valid SSL/TLS certificates for secure connections.

General Tips for Troubleshooting MX Records:
- Documentation and Support: Keep a record of your DNS settings and consult your email service provider's documentation or support team when in doubt.
- Regular Monitoring: Regularly monitor your email delivery rates and look for any delivery issues that might indicate problems with MX Records or other email settings.
- Stay Updated: Keep up with the latest best practices and updates from your email service provider and hosting platform to ensure optimal email delivery.
Troubleshooting MX Records requires a systematic approach to identify and resolve issues. By understanding common problems and how to address them, you can maintain a reliable and efficient email system for your domain.
Best Practices for MX Record Management
Properly managing MX Records is crucial for maintaining the reliability and efficiency of your domain's email services. Here are some best practices to follow:
Regularly Review MX Records:
- Accuracy: Regularly check that your MX Records are accurate and up-to-date. Ensure that the mail server addresses and priority settings reflect your current email strategy.
- Redundancy: Have multiple MX Records pointing to different mail servers if possible, to ensure redundancy in case the primary server fails.
Security Measures:
- Use SPF and DKIM: Along with MX Records, implement Sender Policy Framework (SPF) and DomainKeys Identified Mail (DKIM) records to help prevent email spoofing and ensure email authenticity.
- Secure Connections: Ensure that your email servers use encrypted connections (SSL/TLS) to protect the data integrity and privacy of your emails.
Monitor and Test:
- Performance Monitoring: Regularly monitor the performance and availability of your mail servers. This includes keeping an eye on load times, response times, and any downtime.
- Email Delivery Testing: Periodically send test emails to verify that your MX Records are working as expected and emails are being delivered promptly.
Stay Informed:
- Keep Updated: Stay informed about any changes or updates from your email service provider and domain registrar that might affect your MX Records or email services.
- Best Practices and Recommendations: Follow industry best practices for email management and be aware of any recommended changes to improve security or performance.
Document Changes:
- Change Log: Keep a log of any changes made to your MX Records, including what was changed, why, and when. This can be invaluable for troubleshooting any future issues.
By following these best practices, you can ensure that your MX Records are correctly configured and maintained, leading to reliable and secure email delivery for your domain. Regular management and monitoring are key to avoiding common pitfalls and ensuring smooth email operations.